
Making Pottery
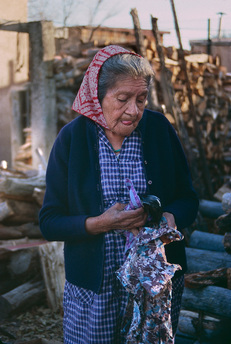
Ramona Tapia with her black-on-black pottery – Santa Clara Pueblo, NM
Different pueblos are known for different styles of pottery. For example, Santa Clara Pueblo and San Ildefonso Pueblo are most well-known for their black-on-black pottery, while the Hopi and Acoma Pueblo are known for their polychrome, or multi-colored, pottery. Jemez is famous for their storytellers and at the Taos Pueblo, potters often use clay with a lot of the mineral mica in it. This causes their pots to sparkle in the sunlight.
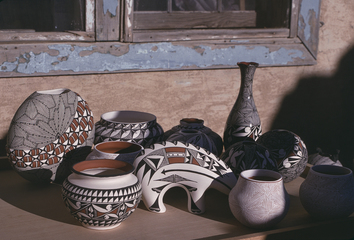
Polychrome pottery – Acoma Pueblo, NM
|
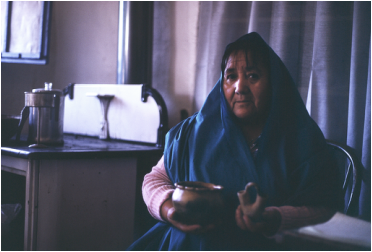
Crucita Romero holding her micaceous pots – Taos Pueblo, NM
|
Traditional pottery is all handmade using tools directly created from natural materials. At ISOMATA in Idyllwild, CA, I took two courses in pottery-making from the Calabaza family from San Ildefonso Pueblo. Their mother, Blue Corn, was well-known for her beautiful pottery. What a fun class!
Below are the basic steps we learned during the class:
|
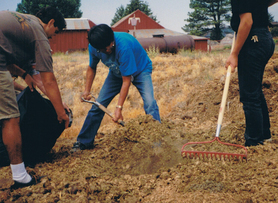
1. Go out into a pasture and collect horse or cow manure (that's poop!). Store it somewhere to dry. |
|
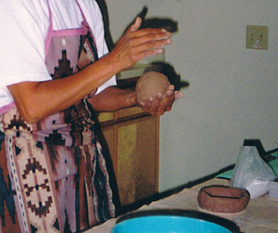
2. Take the clay (which is reddish brown and brought directly from the pueblo) and pound it against a table to get air bubbles out. If there are any air bubbles in your pot, they will expand and break your pot when the clay is fired (heated to a very high temperature to harden). |
|
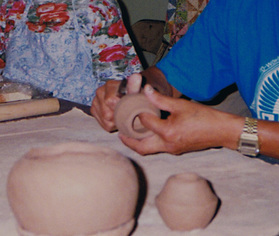
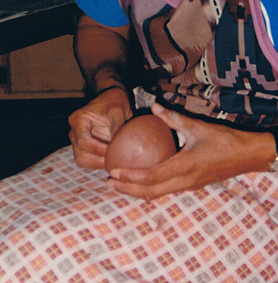
3. Rough shape the pot using the coil method by rolling out a long, snake-like rope of clay and coiling it up in a spiral. For smaller pieces, you can use the pinch pot method by simply pressing your fingers into a ball of clay. |

|
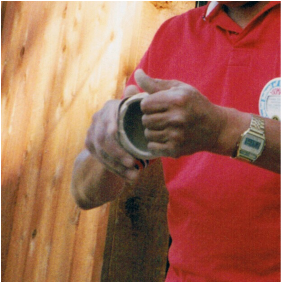
4. Set the pots out to dry. When it is partially dry, you can scrape the surface of the pot with the lid of a metal tin to smooth out the largest bumps. |
|
5. When the pots are completely dry, sand the pot with sandpaper to get out more bumps. |
|
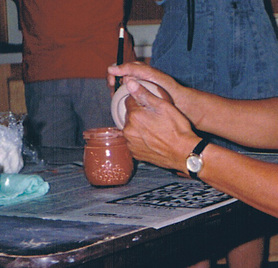
6. Wash your hands thoroughly so that no hand lotion or skin oil gets on the pot. Paint the outside of the pot with slip, which is clay with a lot of water added to it. |
|
7. Wash your hands again. Then polish the pot with a smooth stone. Wipe the pot with a small amount of bear grease. Polish the pot two to three more times depending on the size of the pot. |
|
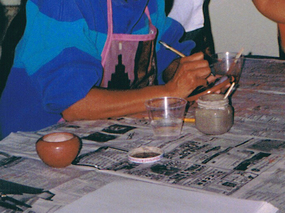
8. Paint your designs on the pot with more slip. Paintbrushes are made from pieces of yucca, a desert plant, which is soaked overnight. Then the ends are chewed to separate out the bristles. You can also carve out designs with a knife - this is called sgraffito. |
|
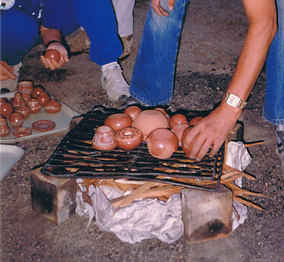
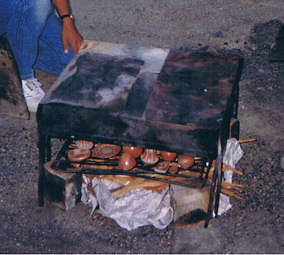
9. When all your designs are finished, it's time to fire the pot! There are many factors to think about when firing pots, like weather, humidity, and air temperature. If it is a good day for firing, place the pot or pots on a metal grate above paper and kindling (small pieces of wood which are easy to burn). |
|
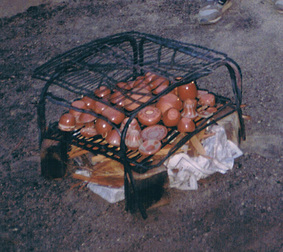
10. Place another metal grate over the pots to protect them. |
|
11. And then metal sheets on top of that, because... |
|
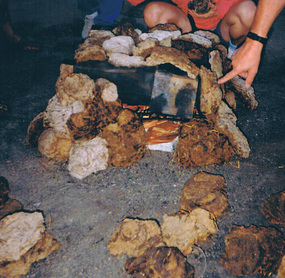
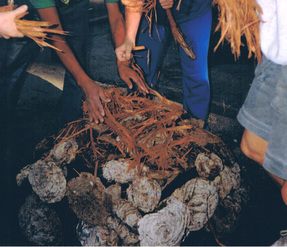
12. It's time to get your manure! Pile it all around the pots. |
|
13. Then add more kindling to the top. |
|
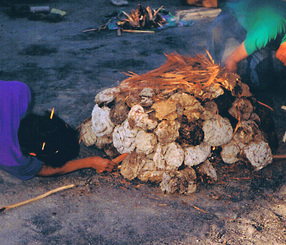
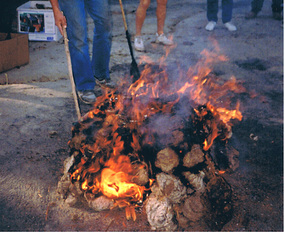
14. The fire is lit! (Only grown-ups should be doing this and the following steps.) |
|
15. The fire must get to the right temperature. |
|
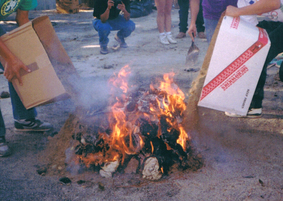
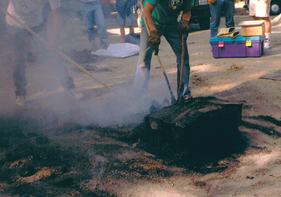
16. At exactly the right time (it takes a lot of practice to know when that is), put out the fire by throwing sand all over it until it is completely covered. |
|
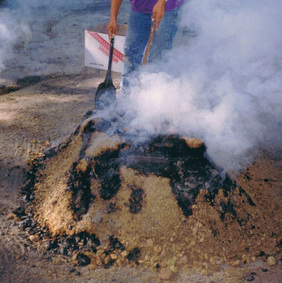
17. There will be lots of smoke! The smoke is mostly from the cow manure. In a process called reduction firing, the smoke will get into the clay and turn it black. |
|
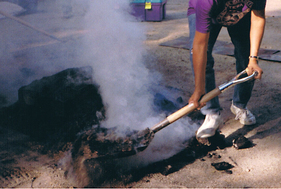
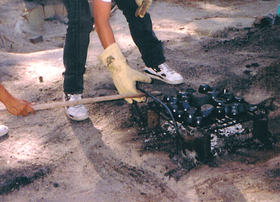
18. Carefully clear away all the ash... |
|
19. Almost there... |
|
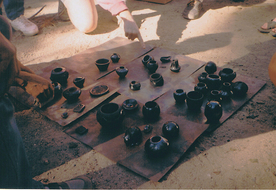
20. Wow, shiny! |
|
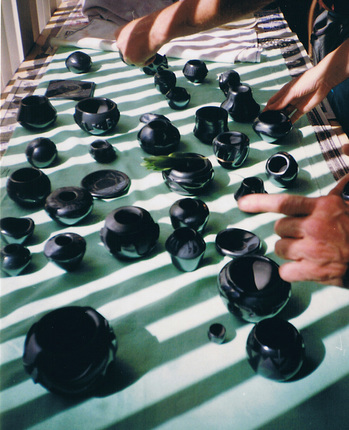
21. And black! |
|
A beautiful ending to the class... |
|
All text and images – © 2015 by Pauline Ts'o. All rights reserved.